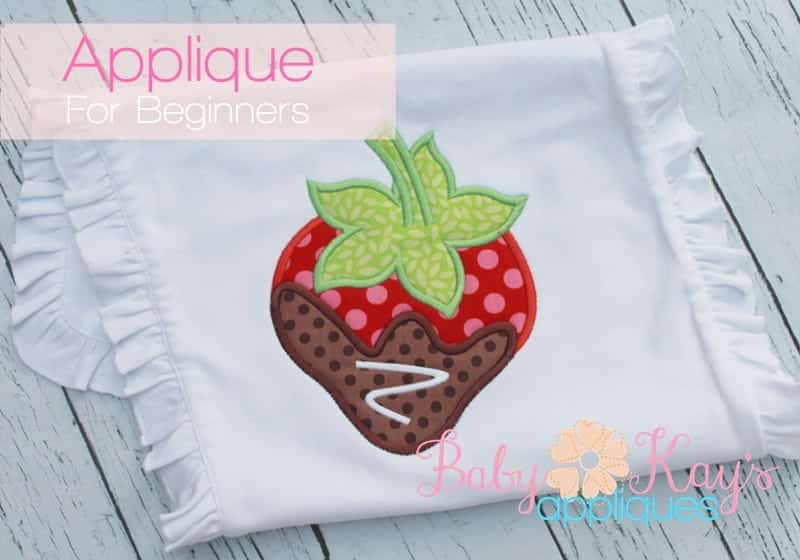
Here is a quick and easy tutorial for creating an Applique using your Embroidery Machine.
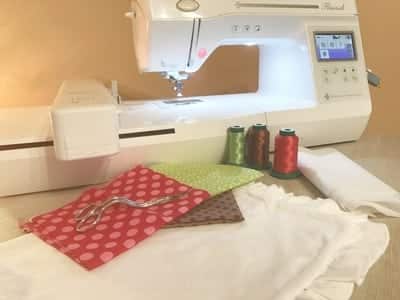
Materials Needed:
Embroidery Machine and Hoop
Fabric for Applique
Matching Thread
Stabilizer
Garment to Applique on ( I use a Burp Cloth in this Tutorial)
Embroidery Scissors (My favorite are Gingher 6 inch double curved)
Digital Embroidery Pattern GET THIS STRAWBERRY HERE
Stitch Chart (comes with pattern)
Begin by Gathering all of your materials
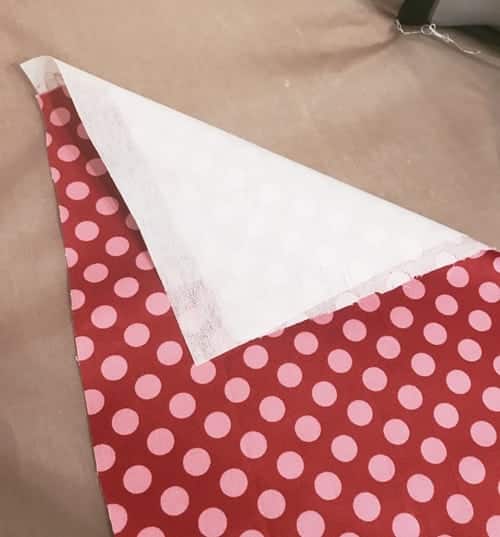
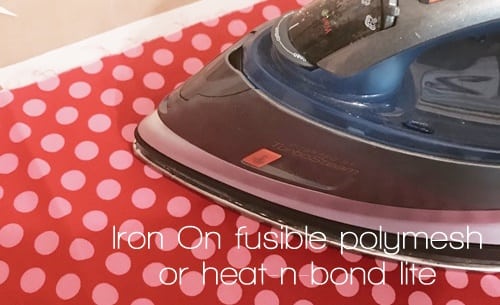
*To stabilize your fabric you can use either Heat-n-Bond Lite or a piece of lightweight fusible polymesh. This will keep your fabric from bunching up or gathering and create a crisp looking applique.
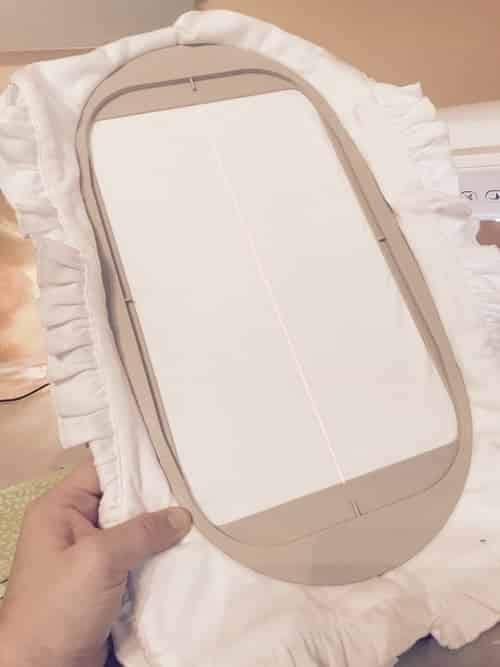
If I was using a child’s cotton shirt I would apply fusible stabilizer to the back of the shirt before hooping. In this case I am using a burp-cloth which does not have any stretch to it so a fusible stabilizer is not needed. I hooped a piece of tear away and the burp-cloth in the hoop. I ironed the burp-cloth in half lengthwise so I could get a crease line. Then I use that crease to line up my burp-cloth in the hoop using the 2 notches on top and bottom of the hoop.
The crease line was hard to see in the photo so I drew on this light pink line.
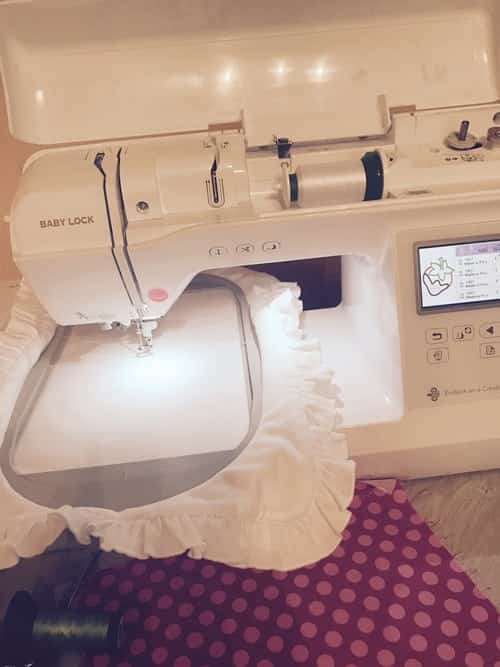
Place your Hoop in your machine to begin stitching.
Take a look at your stitch chart. There is a stitch chart in every design file. This will show you each step your machine will take to create your applique. You can also see the steps on the machine but sometimes it is easier to see them all together with the stitch chart.

The first 6 steps DO NOT need to change color. Use 1 color on those.
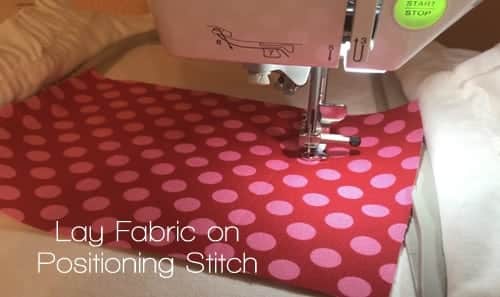
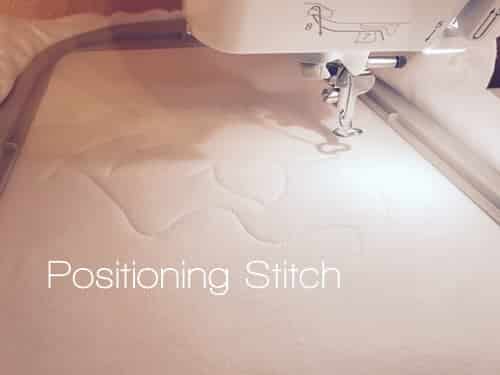
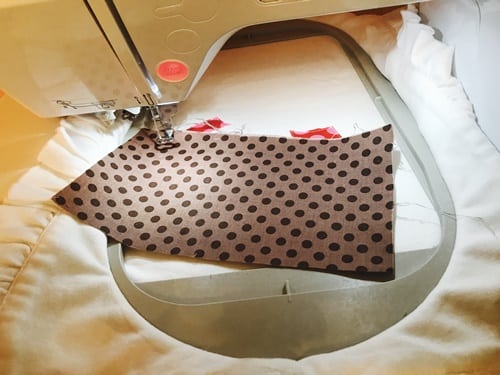
The first step is your positioning stitch. This will show you where to lay your fabric for that piece. The second stitch is the tack down stitch which will tack down your fabric in place.
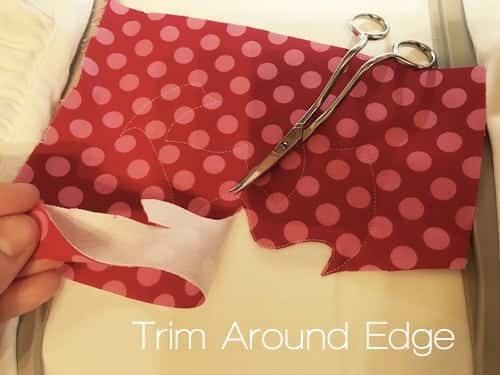
Trim around the edge. Go slow and try to get as close as possible to your stitches. This is why I love my gingher scissors. They get really close without too much effort on my part.
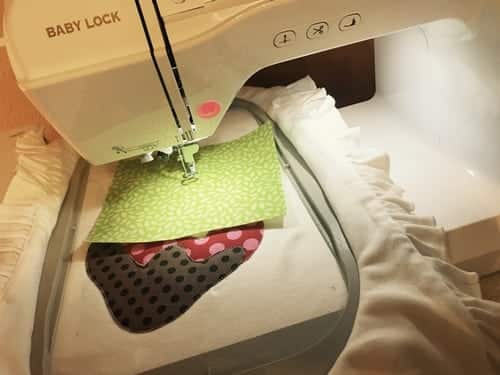
Continue your position stitch, fabric, tack down, and trimming until all fabric pieces are finished.
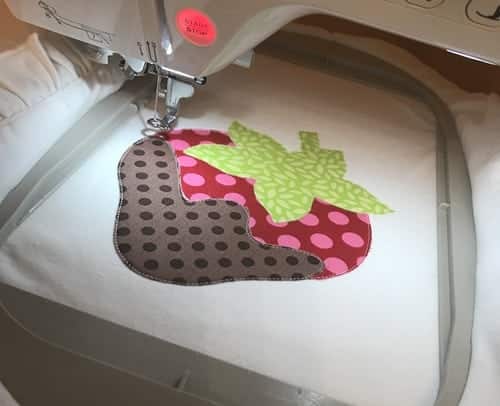
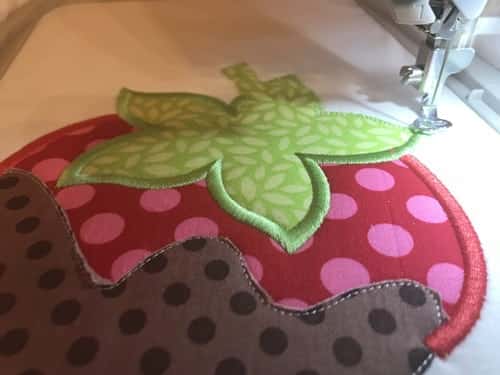
Now that all of your fabric pieces for the applique have been placed and trimmed you will want to change your thread to begin stitching the satin edges.
The first step for satin on this strawberry is red. The next step is green and then brown and then white. Change your thread as needed to complete each satin step.
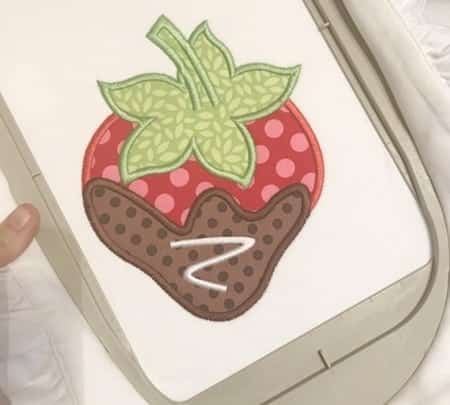
Once all the satin stitches are complete you can remove your item from the hoop. Remove the tear away from the back.
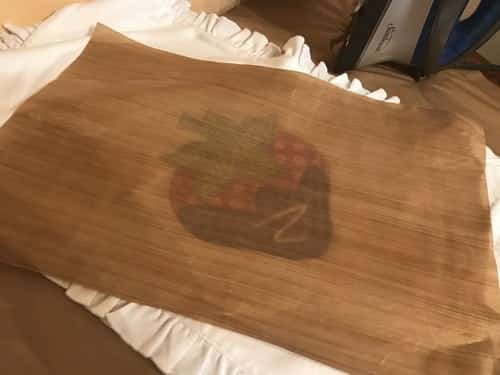
For the finishing touches I like to use a piece of Teflon paper to iron on top of the design. This prevents your thread from possible burns and allows a crisp clean finish.
And you are FINISHED! Enjoy your masterpiece. If you have any questions about this tutorial or anything applique/embroidery related feel free to email me at Teresa@babykaysappliques.com.
Also join our Facebook Group for a FREE design and to chat with over 14,000 members who are always so helpful.
