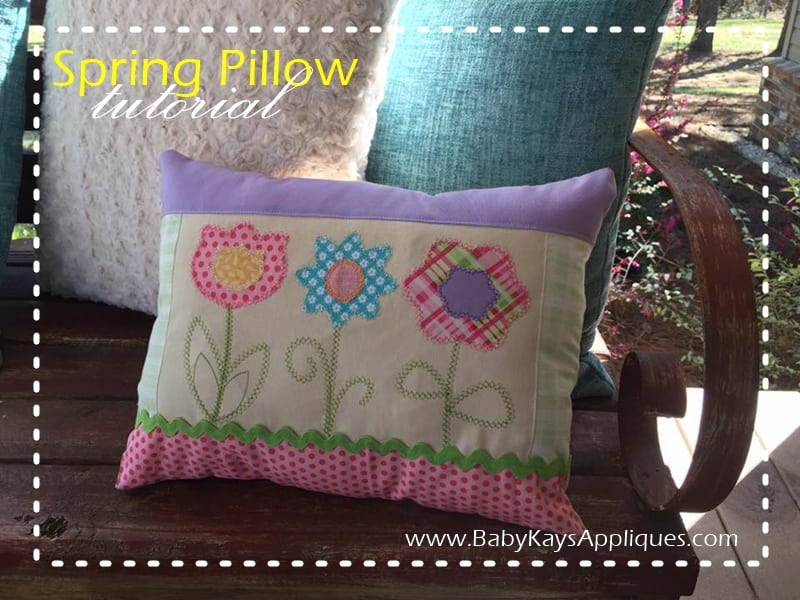
The design used on this pillow is our Spring Flower Trio Set you can find HERE
Materials Needed
Fabric
Sewing Machine
Thread
Notions (if desired)
Soft Fiber Fill (pillow stuffing)
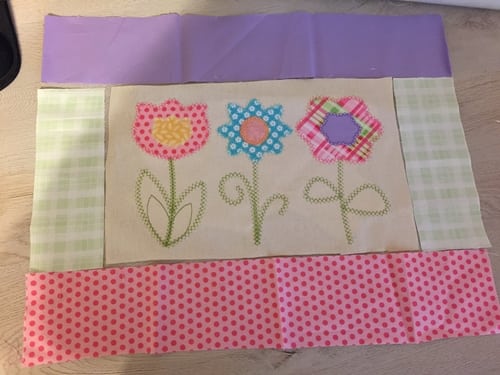
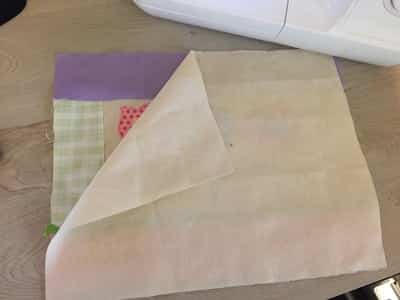
Begin by cutting the pieces of fabric you will need to
assemble the pillow.
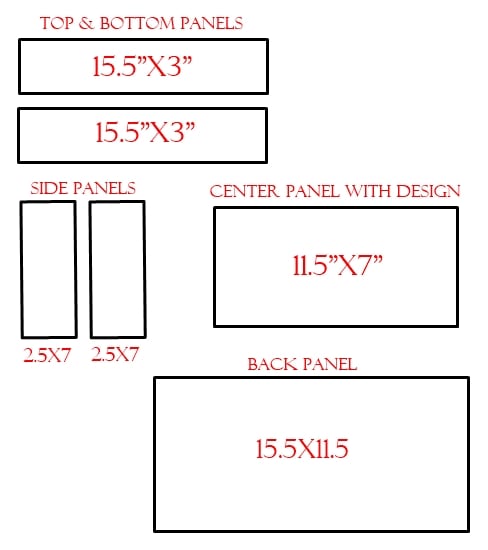
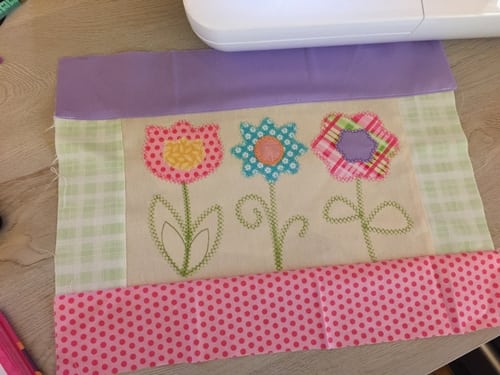
Here is a layout including sizes for each piece.
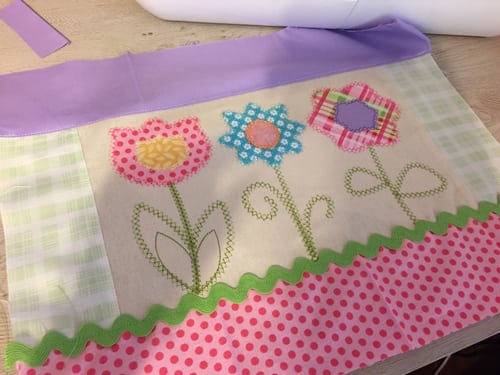
I used the 6×10 design size on this pillow. Stitch your design in the center panel.
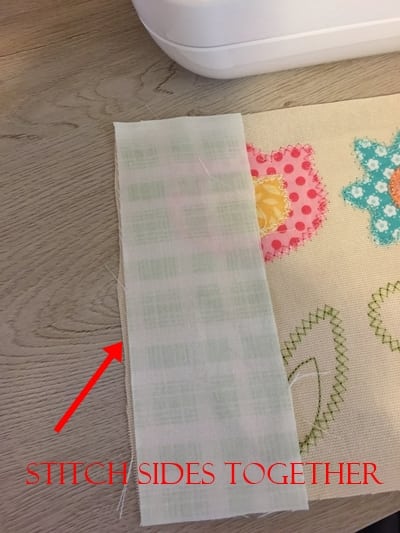
Begin by stitching your side panel pieces to your center panel. Lay fabric RIGHT SIDES TOGETHER and using about a 1/4 inch seam, sew a straight line.
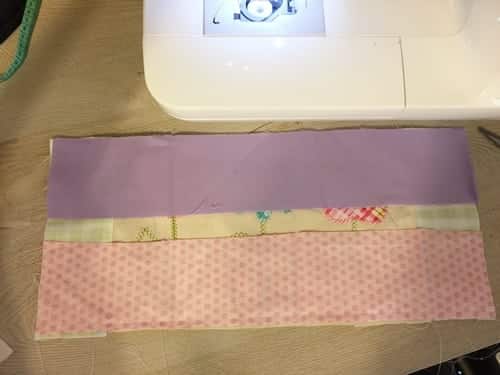
Now that you have sewn on the two side pieces continue and attach the top and bottom pieces.
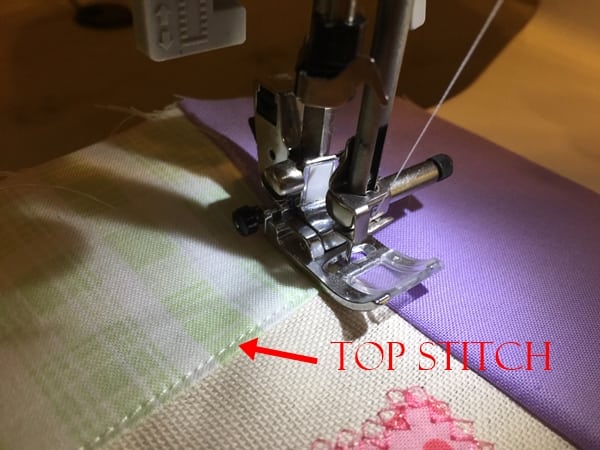
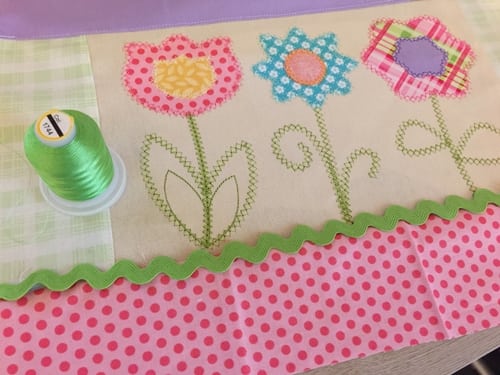
I really like the look of a top stitch over the seams. This gives more support and a nice finished look. You do not have to sew a top stitch but it does make it look very finished.

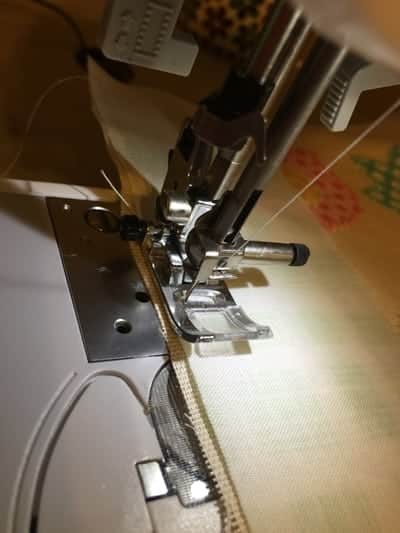
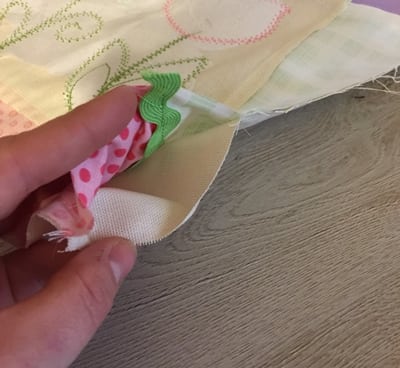
Now you can sew on your trimming. You can use rick-rack, ribbon, anything you like! Be sure you change out your top thread to match your trimming.
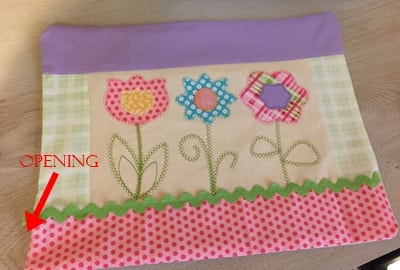
Sew on your back panel. Make sure you have them RIGHT SIDES TOGETHER when sewing.
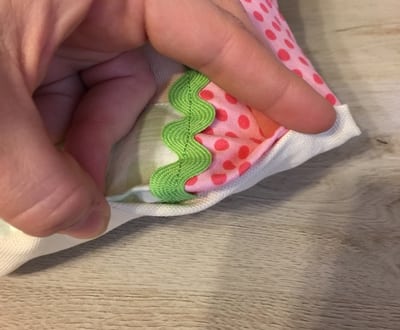
Leave a small opening to turn the pillow right side out and to be able to insert your fiber fill.
Turn pillow Right Side Out through opening and stuff with as much or as little fill as you like
Tuck in fabric at opening and using a top stitch, sew closed.
FINISHED! Enjoy your new Spring Pillow… Use these same steps and a different design to make pillows for ALL seasons.
