Have you ever wondered how some shops take those amazing product photos? Have you seen the clean distressed wood backgrounds and think, “Wow, did they build that background”? or “How do they get the photos so bright”?
While every shop may have a different way to produce great quality photos, here is my steps to the perfect picture.
You don’t need an expensive set up or a high quality camera. All I use is a $15 backdrop and my iPhone along with some FREE software.
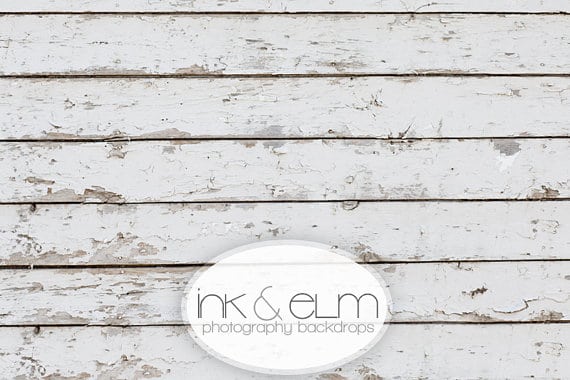
My background is a simple vinyl backdrop that is 2 feet by 2 feet. I purchased this from Ink and Elm on Etsy. They sell different sizes and different colors and patterns. I went with the 2’x2′ since all I need is enough space for a folded shirt or other small items.
Inside photos are a big NO-NO. Unless you have a professional photo studio in your home I would never suggest taking a product photo under inside light. No matter how bright your lights are it will not allow for a great quality photo.
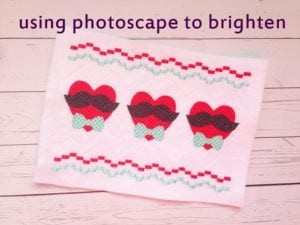
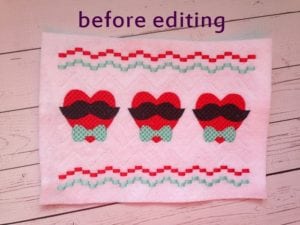
Here is what a photo looks like when taken inside my home…. The first photo shows it before an editing and the second photo shows what happens when I try hard to brighten and fix the photo. It just does not come out right.
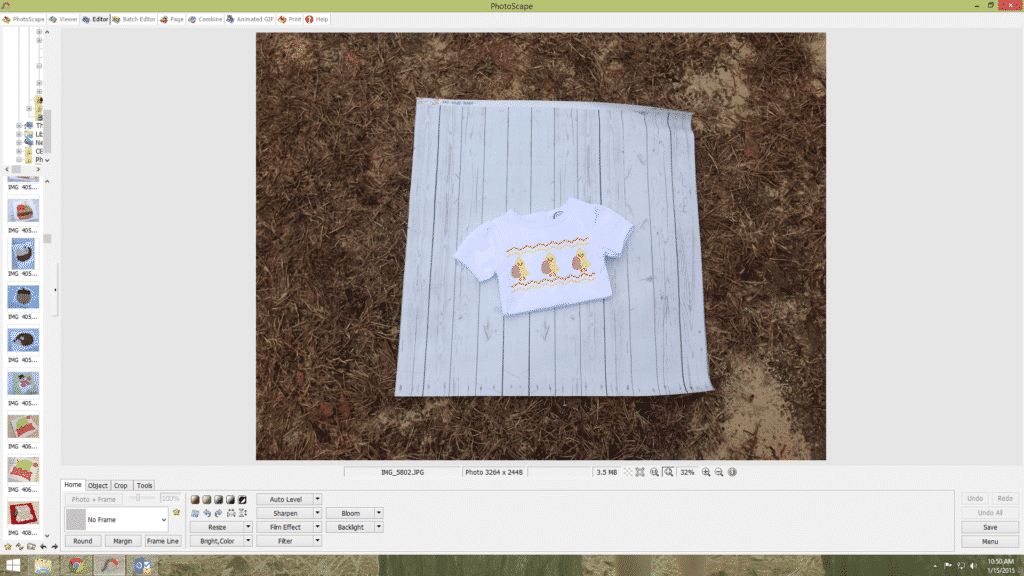
I use Photoscape Software which is a free download and great for editing photos.
As you can see even in the second photo which is a little better, the colors are washed out and it is just not that appealing.
Now let’s move this photo outside. The best time I find to take great photos is on a bright but cloudy day. You do not want direct sunlight on the photo as this will cause shadows.
In this photo you can see that the design itself already looks much better than in the photos that were taken inside. The stitching looks clean and crisp and the colors are great. However we have a lot of crazy shadowing going on and that can be a distraction. So let’s move this to a more shadowy place yet be sure there is still plenty of light coming though.
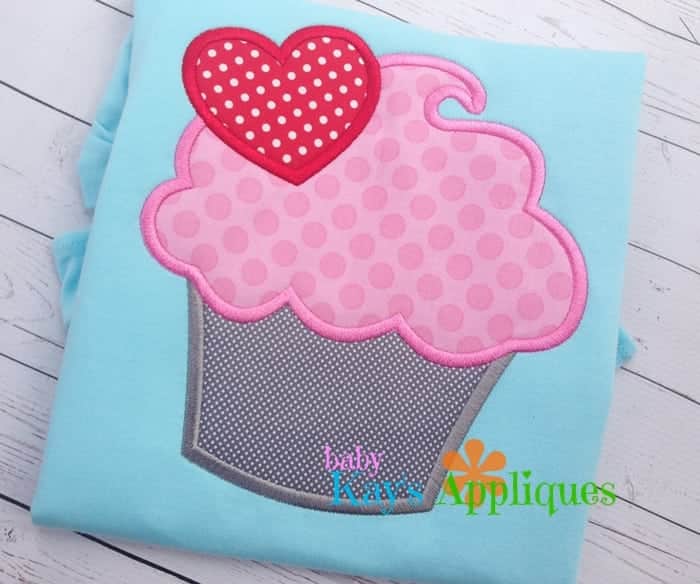
Here we took a photo on a bright sunny day yet the sun was behind a cloud so it was the perfect set up and look at how crisp and bright this photo is. There was NO editing done to this photo other than adding the logo.
No shadows, no washed out colors, just a crisp, clean, bright and colorful photo.
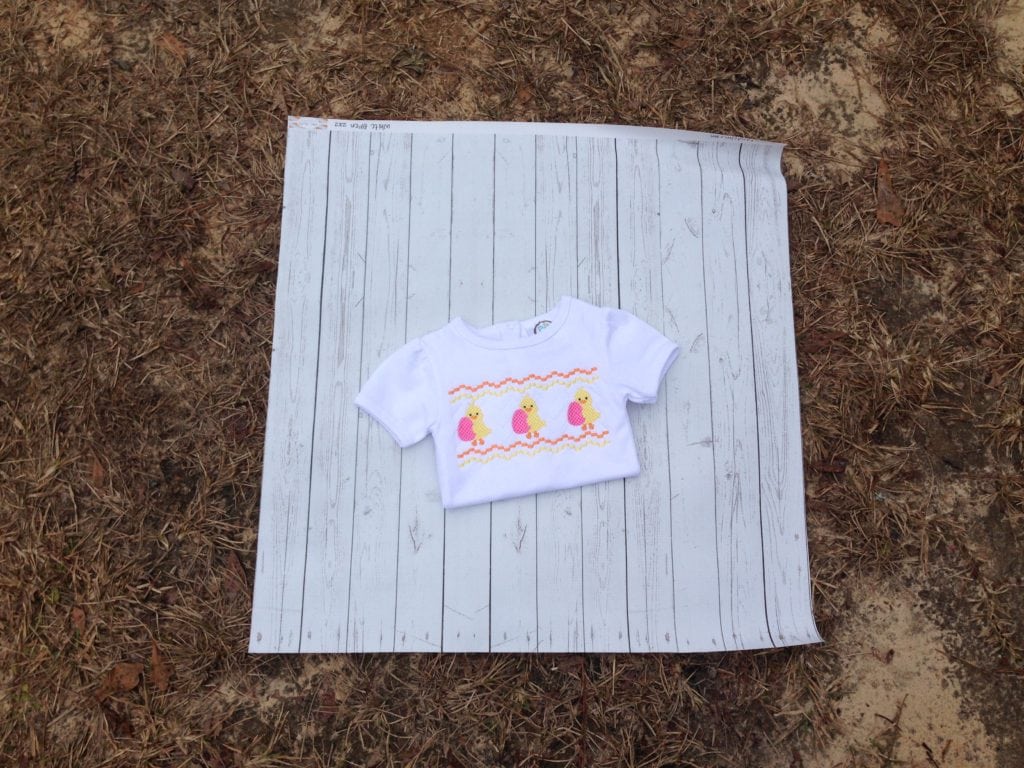
Here is another look at the whole set up with the vinyl backdrop on the ground. This is winter time so excuse the dead grass. The sun is shining but there is an overcast so while it is bright outside, there are no shadows.
Here I pull the image into Photoscape to crop and add my logo.
There you have it.. beautiful quality product photos are easier than you may have thought. The key is taking the photos outdoors in the right setting and a nice backdrop.
I hope this tutorial has helped someone a little. If you enjoyed it please go like Baby Kay’s Appliques Facebook page.
Thanks for reading and Happy Stitching!

